
How to properly prepare and grow seedlings from seeds: Tips for beginners
Growing your own seedlings from seeds is an important step that determines the future harvest. If this is your first time doing this, don't be afraid. Following a few key rules will help you get healthy and strong seedlings.
Here is a detailed step-by-step guide to help you properly prepare and grow seedlings from seed.
1. Preparatory Stage: The Key to Similarity
Success begins with careful preparation.
A. Seed selection and processing
Seed quality: Choose seeds with a current expiration date from reliable suppliers.
Disinfection: This is an important disease prevention measure. Seeds can be soaked for 10-15 minutes in a weak solution of potassium permanganate (pale pink) or hydrogen peroxide, and then be sure to rinse with clean water and dry.
Germination (optional): To speed up germination, large seeds can be soaked until small roots appear. Once a root has sprouted, the seeds should be sown immediately.
B. Soil Preparation
The soil for seedlings should be loose, breathable, and nutritious.
Using ready-made mixtures: The easiest option is to purchase specialized soil for vegetable or flower seedlings.
Self-preparation: You can mix sod land, humus (or compost) and loosening agents (perlite, vermiculite or sand) to improve drainage.
Soil disinfection: This is critical for controlling fungal diseases, particularly blackleg. You can steam the soil in an oven (30 minutes at around $90^\circ$C) or spray it with a biofungicide solution a few days before planting.
B. Seeding containers
Use any containers, but they must have drainage holes to drain excess moisture: plastic trays, cups, peat pots.
2. Seed Sowing Technology
It is important to maintain the correct sowing depth.
Filling: Fill the containers with prepared soil, not exceeding 1-2 cm to the edge. Lightly compact the surface.
Seeding depth:
Large seeds (cucumbers, pumpkins): Sow 3-4 cm deep. It is better to sow immediately in separate pots.
Medium seeds (tomatoes, peppers): Depth 0.5–1 cm. Spread the seeds evenly.
Small seeds (petunia, lobelia): Scatter on the surface of the soil and press lightly, without covering with soil.
Watering after sowing: Gently moisten the soil with a spray bottle to avoid washing away the seeds and washing away the soil. Avoid watering with a watering can until the seeds have sprouted.
Creating a greenhouse: Cover the containers with transparent film or glass to create a greenhouse effect and maintain high humidity.
Temperature regime for germination: Place the containers in a warm place. The optimal temperature for germination of most heat-loving crops: $+24... +28^\circ$C. At this stage, light is not needed, and for some crops it is even harmful.
3. Stair Care
After the first sprouts appear, growing conditions change dramatically.
A. Light and Temperature
Light: As soon as the seedlings appear, immediately move them to the brightest place . For healthy growth, seedlings need 12-14 hours of light per day. If natural light is not enough (in spring), use additional lighting (phytolamps).
Temperature: After emergence, the temperature should be lowered to $+18... +20^\circ$C for 3-5 days. This is an important step that prevents seedlings from stretching. Then maintain the optimal temperature regime for a specific crop.
Ventilation: Regularly remove the film/glass and ventilate the seedlings to prevent the development of fungal diseases.
B. Watering
Moderation: The soil should be moderately moist, but not wet. It is better to under-water than to over-water. Over-watering can lead to "black leg" and root rot.
Water: Use settled water at room temperature.
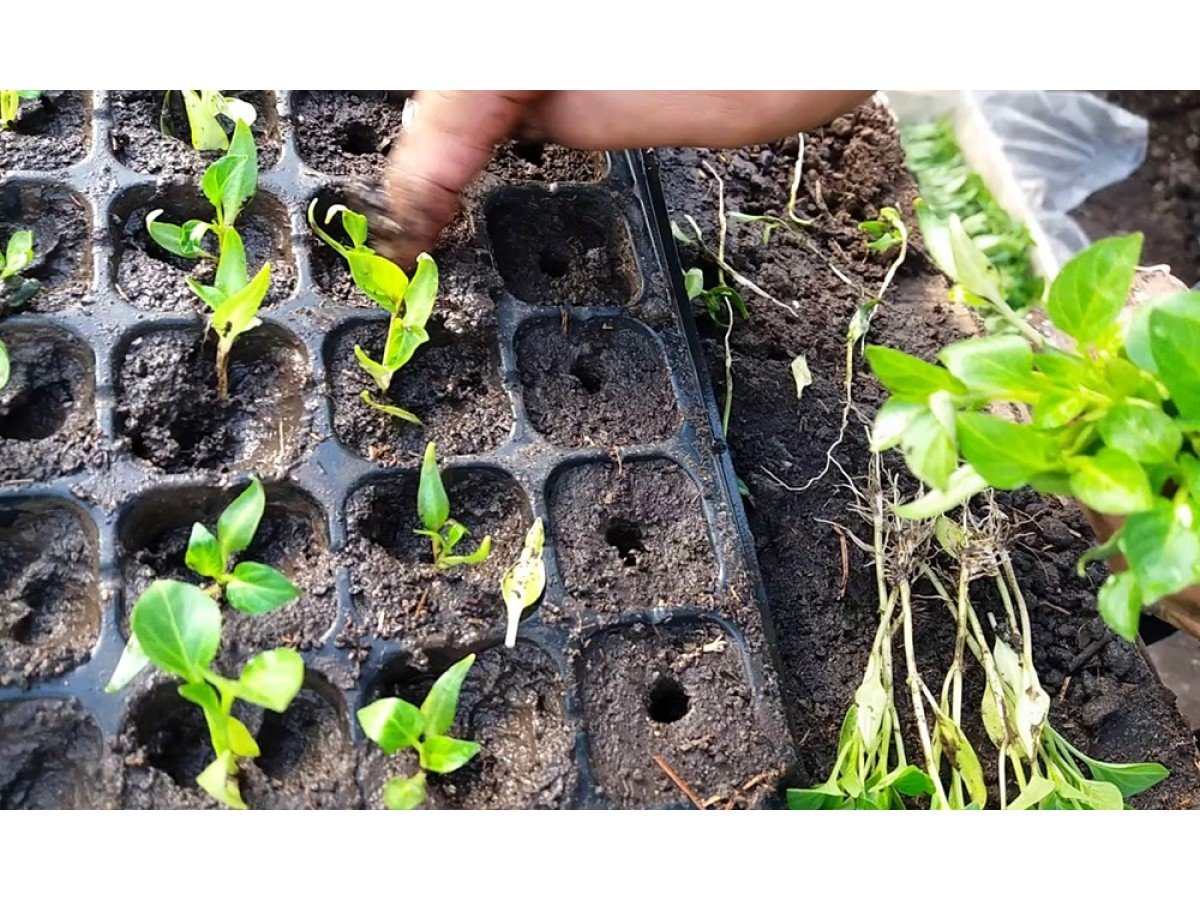
B. Dive (Transfer)
When to do it: Picking is the process of transplanting seedlings from a common container into individual pots. This is done when the plant has 1-2 true leaves.
Purpose: Plucking gives the root system more space to develop and prevents competition between plants.
D. Top dressing
Start feeding seedlings with complex mineral fertilizers 10-14 days after picking or the appearance of the first pair of true leaves, following the recommended dosage.
D. Hardening
10-14 days before the planned planting in open ground, you need to start hardening the seedlings. Gradually take them out into the fresh air, starting with 1-2 hours and avoiding direct scorching sun and drafts in the early stages.
Write a comment